Open Ticket
  +373 79 600002
  Telegram Live Chat
  F.A.Q
F.A.Q  English
 Русский
  Română
  Deutsch
  Français
  Türkçe
  Español
  Português
  Українська
  български
  Polski
  Indonesia
  中文 (中国)





































































































































 on All Hosting Services






How to Use the New Sign-In Methods in AlexHost Billing
Before You Start

AlexHost Billing now supports two passwordless sign-in methods for registered users: Telegram and Passkey. Both options are managed in Settings -> Sign-in methods. To link either method, first sign in to billing with your current login method, such as email + password or Google.
Open Settings
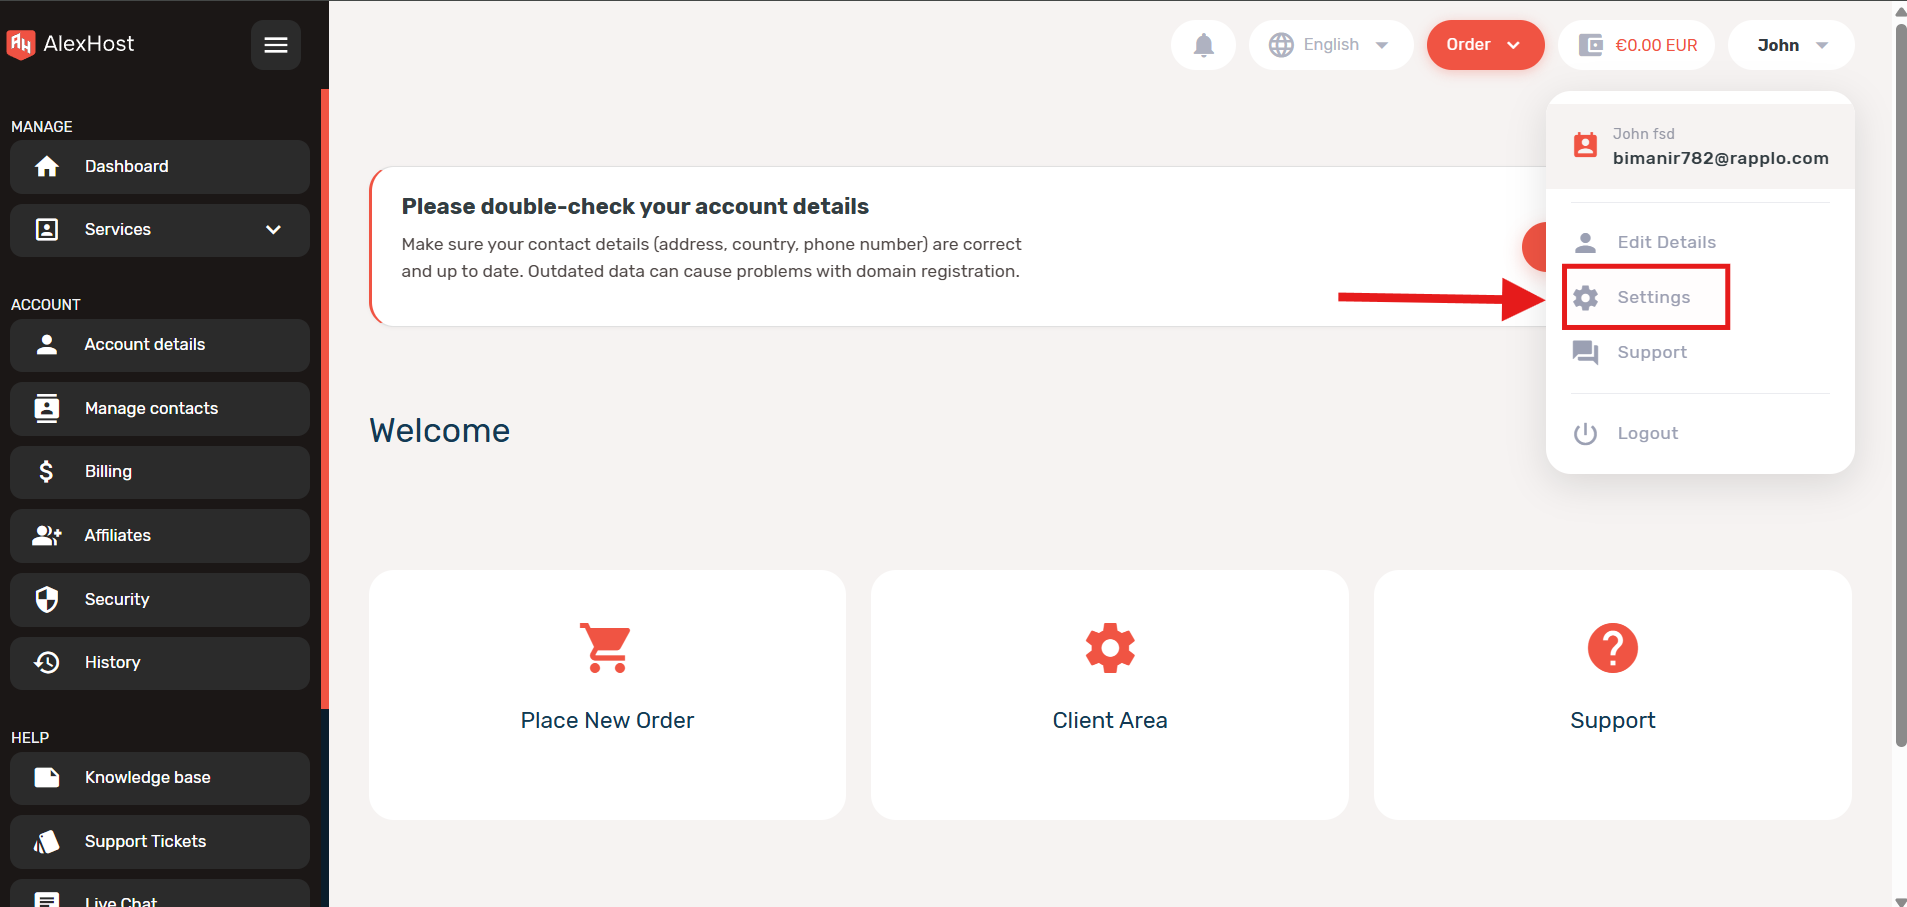
Open the account menu in the top-right corner and click Settings.
Go to Sign-in Methods
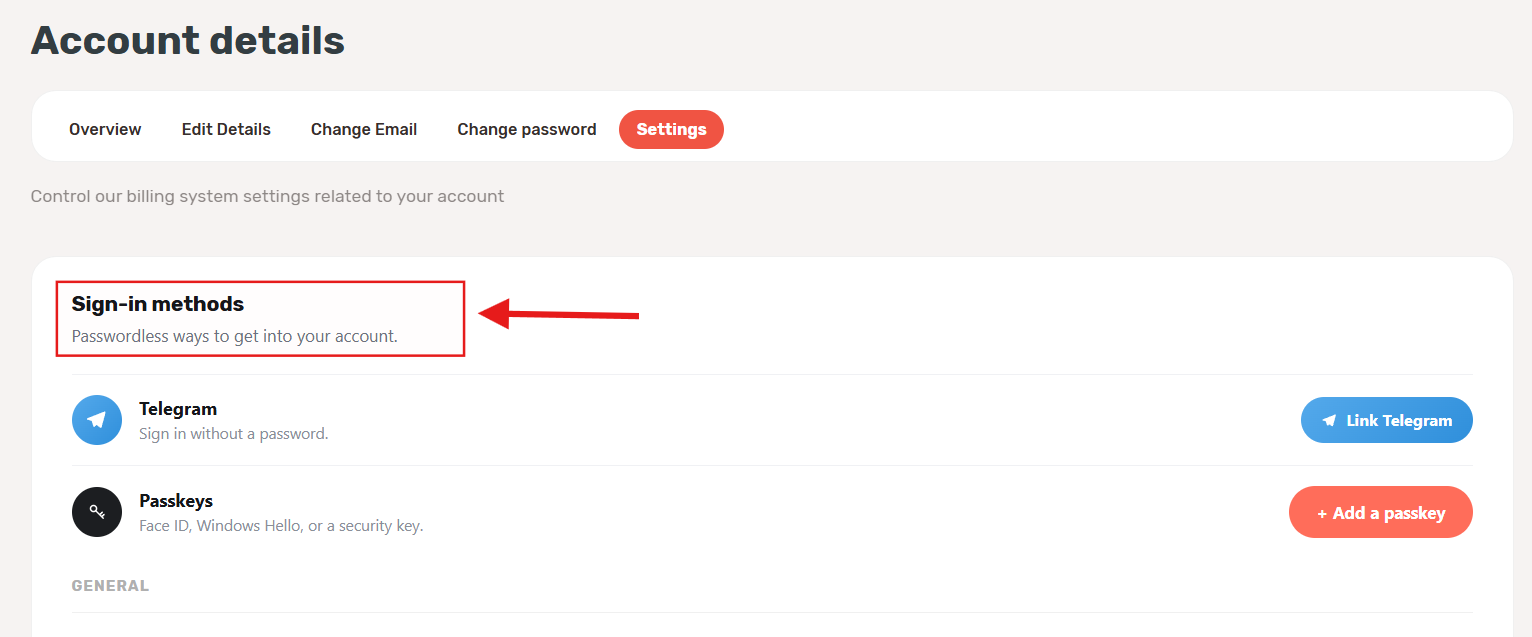
On the account settings page, open the Settings tab and find the Sign-in methods section. This is where both passwordless login options are configured.
Link Telegram
In the Telegram block, click Link Telegram.
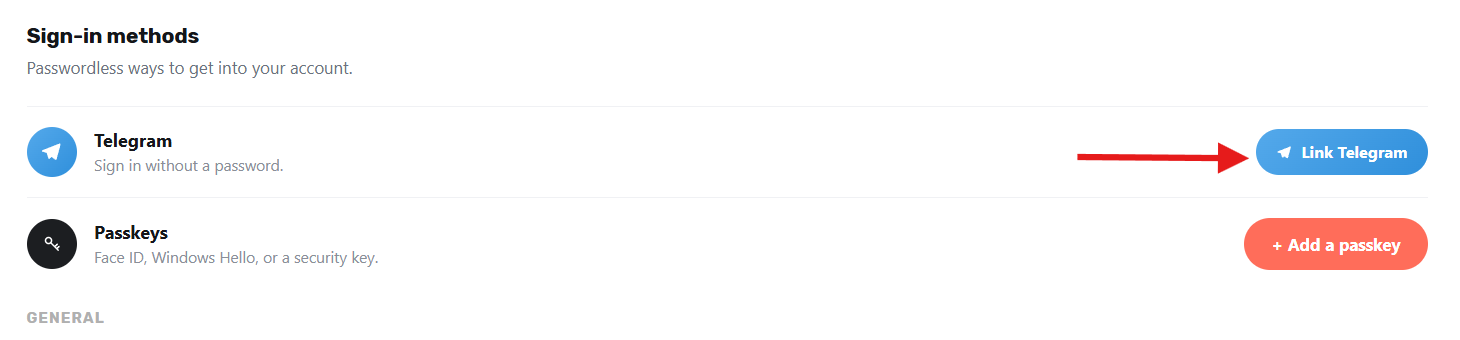
A Telegram authorization window will open. Enter your phone number in international format and confirm the request in Telegram.
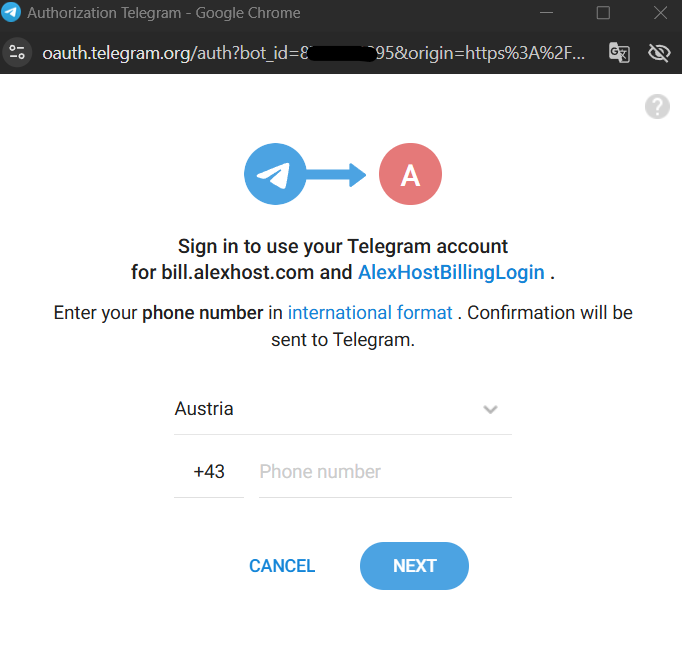
After the account is linked, you can go to the AlexHost Billing login page, click the Telegram icon, and sign in without a password.
Note: If Telegram is not linked yet and you try to sign in with Telegram from the login page, the system will first ask for a normal login and then send you to Settings to complete the link.
To remove this method later, use Disconnect in the same Telegram block.
Add a Passkey
In the Passkeys block, click + Add a passkey.
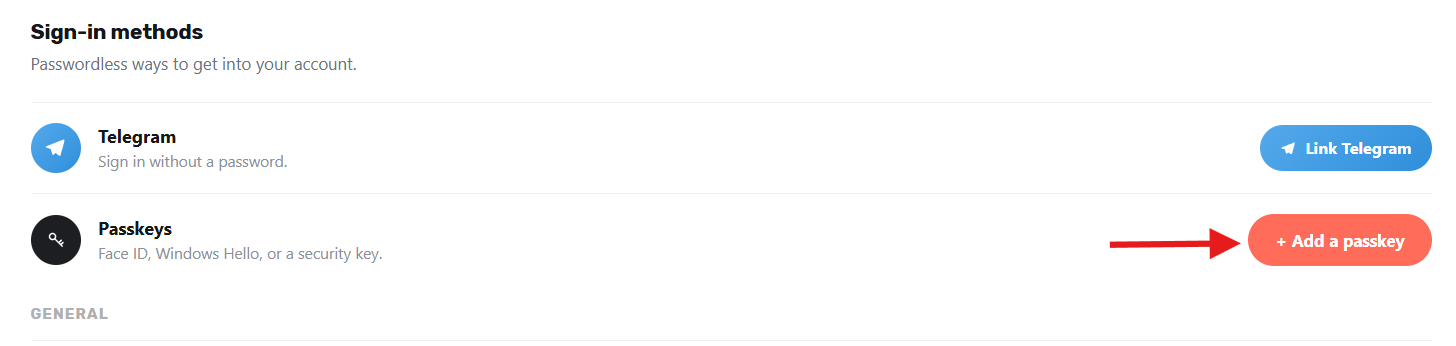
Choose where to save the passkey. Depending on your browser and device, this can be Google Password Manager, Windows Hello, Face ID, Touch ID, or an external security key. Then confirm with your device authentication method.
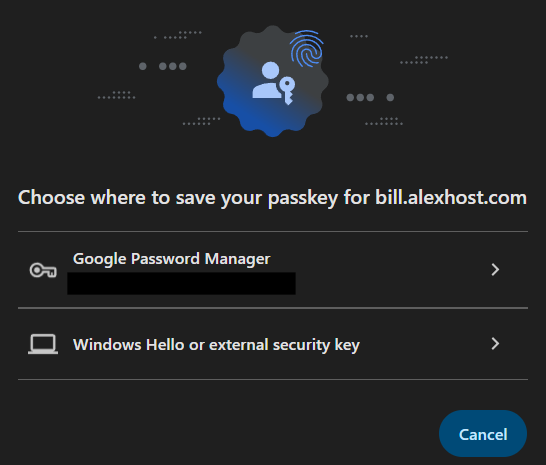
Once the passkey is saved, you can choose Passkey on the AlexHost Billing login page and confirm sign-in on your device, without entering a password.
To remove a saved key later, use Remove next to it in Settings.
5. Save Other Settings if Needed
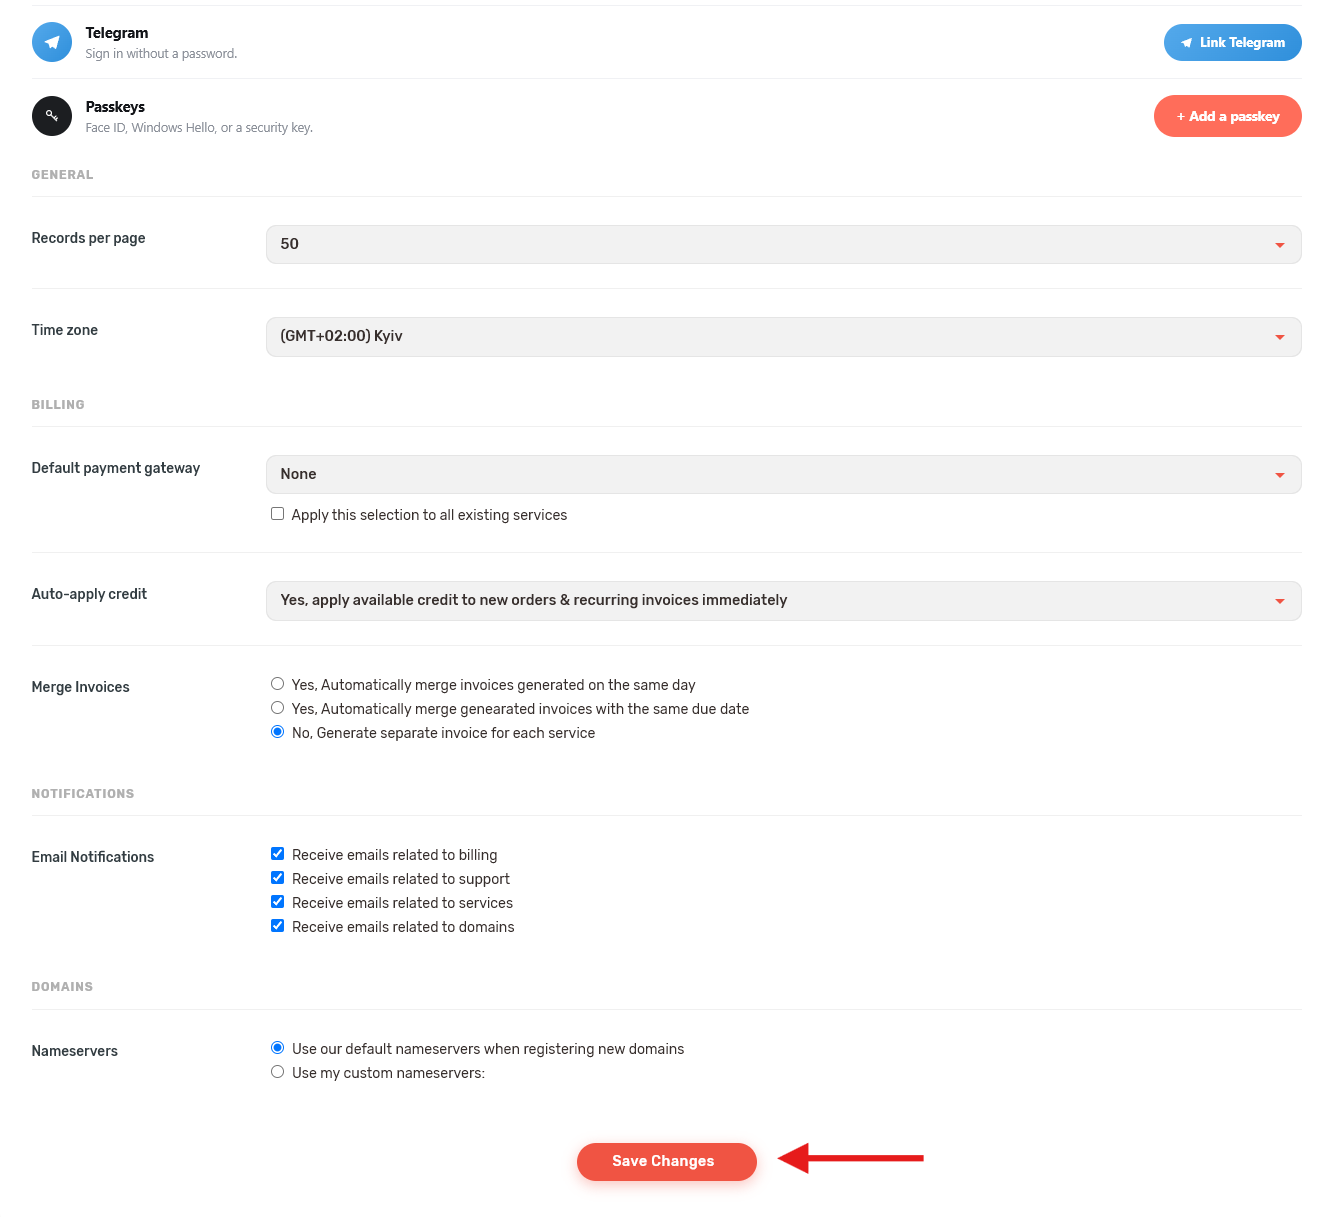
After you changed any account settings while you were on this page, scroll down and click Save Changes before leaving.
Result
After Telegram or Passkey is linked, the new sign-in method is ready to use from the AlexHost Billing login page.