“Ping Command Not Found?” How to Install Ping in Ubuntu
If you’ve ever tried to run the ping command in Ubuntu and encountered the error message: ping: command not found, it can be frustrating, especially when you need to test network connectivity or troubleshoot network issues. But don’t worry! This guide will show you why this issue occurs and how to install the ping command in Ubuntu easily.
The ping command is a fundamental network diagnostic tool that plays a crucial role in connectivity testing, latency measurement, and troubleshooting network-related issues. It operates by sending Internet Control Message Protocol (ICMP) Echo Request packets to a specified IP address or hostname and awaiting ICMP Echo Reply responses. If the target host is reachable and responsive, it returns packets, allowing the sender to measure round-trip time (RTT), packet loss, and overall network stability.
Core Functionality and Use Cases
The primary function of ping is to verify whether a remote host is alive and reachable over a given network. However, it also provides valuable insights into network performance:
Latency Measurement – Calculates round-trip time (RTT) in milliseconds, helping diagnose slow or unstable connections.
Packet Loss Detection – Identifies dropped packets, which may indicate network congestion, faulty hardware, or routing issues.
Network Path Testing – Determines if a particular network path is operational by checking intermediate response times.
Firewall and Security Testing – Helps detect ICMP filtering or blocking by firewalls or security configurations.
What is the Ping Command?
The ping command is a simple yet powerful network utility used to test the reachability of a host or network device. It works by sending ICMP Echo Request messages to a specified IP address or domain and waits for a reply. It helps in identifying network issues, latency, and packet loss between your computer and the destination.
Why is the Ping Command Missing?
In some instances, especially in minimal Ubuntu installations or Docker containers, you might encounter a situation where the ping command is not available by default. This is often due to the absence of the iputils-ping package, which contains the ping utility.
How to Install Ping in Ubuntu
To resolve this issue, you simply need to install the iputils-ping package. Here’s a step-by-step guide on how to do it:
Step 1: Update the Package List
Before installing any packages, it’s always a good idea to update the package list. Open the terminal and run:
sudo apt update
This command ensures that your package list is up to date, preventing any potential issues during installation.
Step 2: Install the iputils-ping Package
Now, install the iputils-ping package, which contains the ping command:
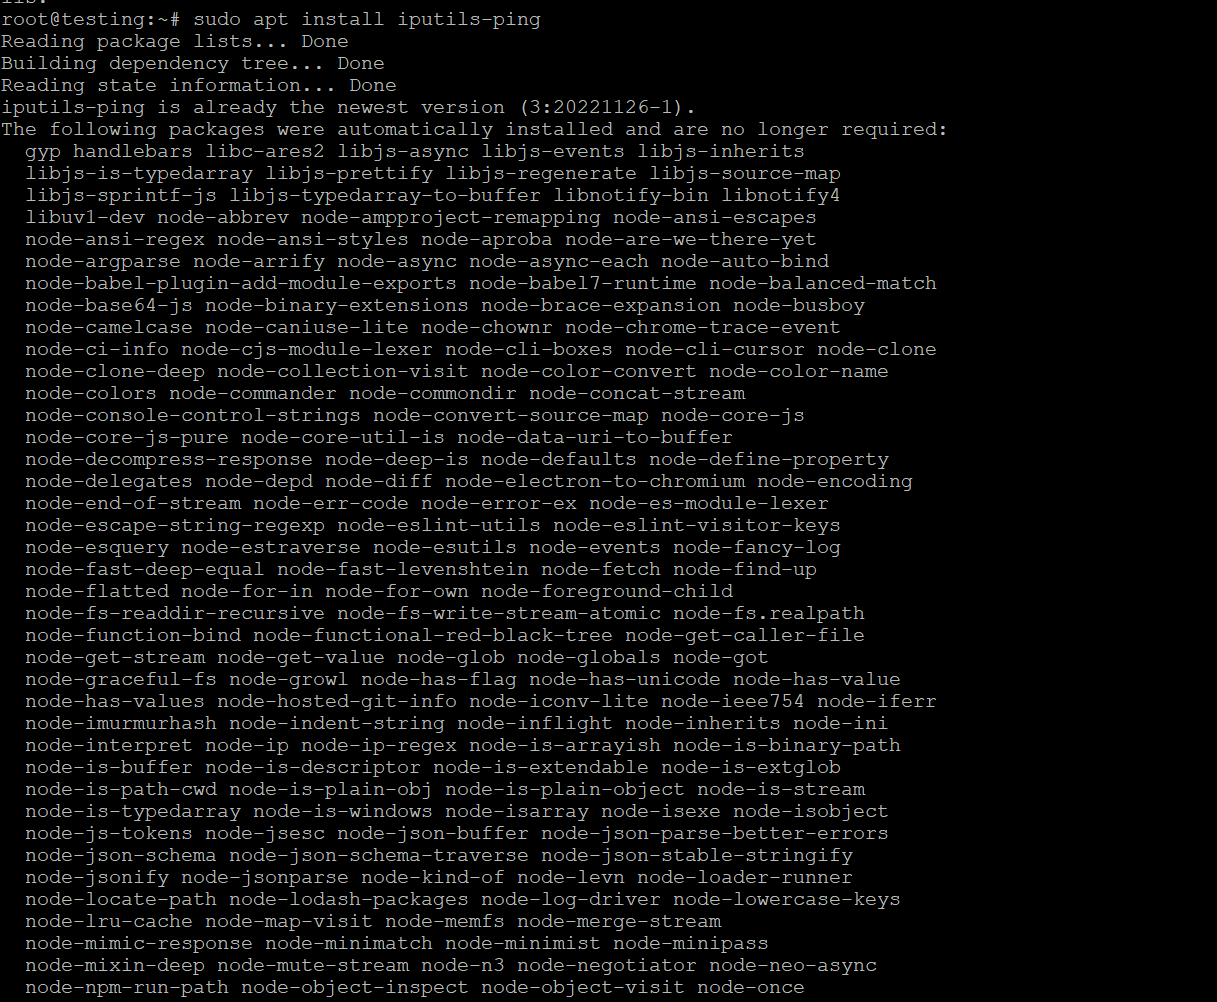
sudo apt install iputils-ping

Type Y when prompted to confirm the installation. This command will download and install the ping utility on your system.
Step 3: Verify the Installation
After the installation completes, you can verify that the ping command is now available by running:
ping -c 4 google.com

This command will send 4 ICMP Echo Requests to google.com and display the results. If the ping command is working correctly, you’ll see a response with details about the packets sent, received, and any packet loss.
Common Issues and Solutions
- Permission Denied: If you encounter a “Permission denied” error when trying to use the ping command, you may need to use sudo before the ping command:
sudo ping -c 4 google.com
- Unable to Locate Package: If you see an error like Unable to locate package iputils-ping, ensure that you have an active internet connection and that your system’s package list is updated with sudo apt update.
Conclusion
The ping command is a fundamental tool for network troubleshooting, and its absence can hinder your ability to diagnose connectivity issues. Thankfully, installing it in Ubuntu is a straightforward process that involves updating the package list and installing the iputils-ping package. With these steps, you can easily get the ping command up and running on your system.
Now you’re all set to use ping in Ubuntu! Happy networking!


