How to Order Virtual Hosting from AlexHost
In today’s digital age, launching a fast, secure, and reliable website shouldn’t be complicated — nor should it break the bank. Whether you’re building your first personal blog, deploying a WordPress portfolio, or hosting a lightweight business application, shared hosting remains one of the most accessible and budget-friendly ways to get online.
But not all shared hosting is created equal.
Enter AlexHost — a leading offshore hosting provider known for its commitment to privacy, freedom of expression, and powerful infrastructure. What sets AlexHost apart is its LiteSpeed-powered hosting environment, advanced DDoS protection, support for cryptocurrency payments, and the flexibility to host content without censorship or compromise.
🔍 Why Choose AlexHost for Virtual Hosting?
AlexHost, based in the Republic of Moldova, has become a go-to provider for users seeking:
| Feature | Benefits |
| 🧬 Offshore DMCA ignore (for LiteSpeed hosting type only) | Excellent for privacy & freedom of content |
| ⚡ LiteSpeed Server support | Blazing-fast performance vs Apache |
| 📦 Unlimited Traffic | No hard bandwidth caps |
| 🔐 Free SSL, DDoS Protection | Secure & reliable out-of-the-box |
🛒 How to Order Virtual Hosting from AlexHost
✅ Step 1: Go to the Official Website
Navigate to:
👉 https://alexhost.com choose in the main menu Hosting —> Shared Hosting/ LiteSpeed Hosting
To be able to place the order, you must first of all log in to your AlexHost account or to create one.
✅ Step 2: Choose a Hosting Plan
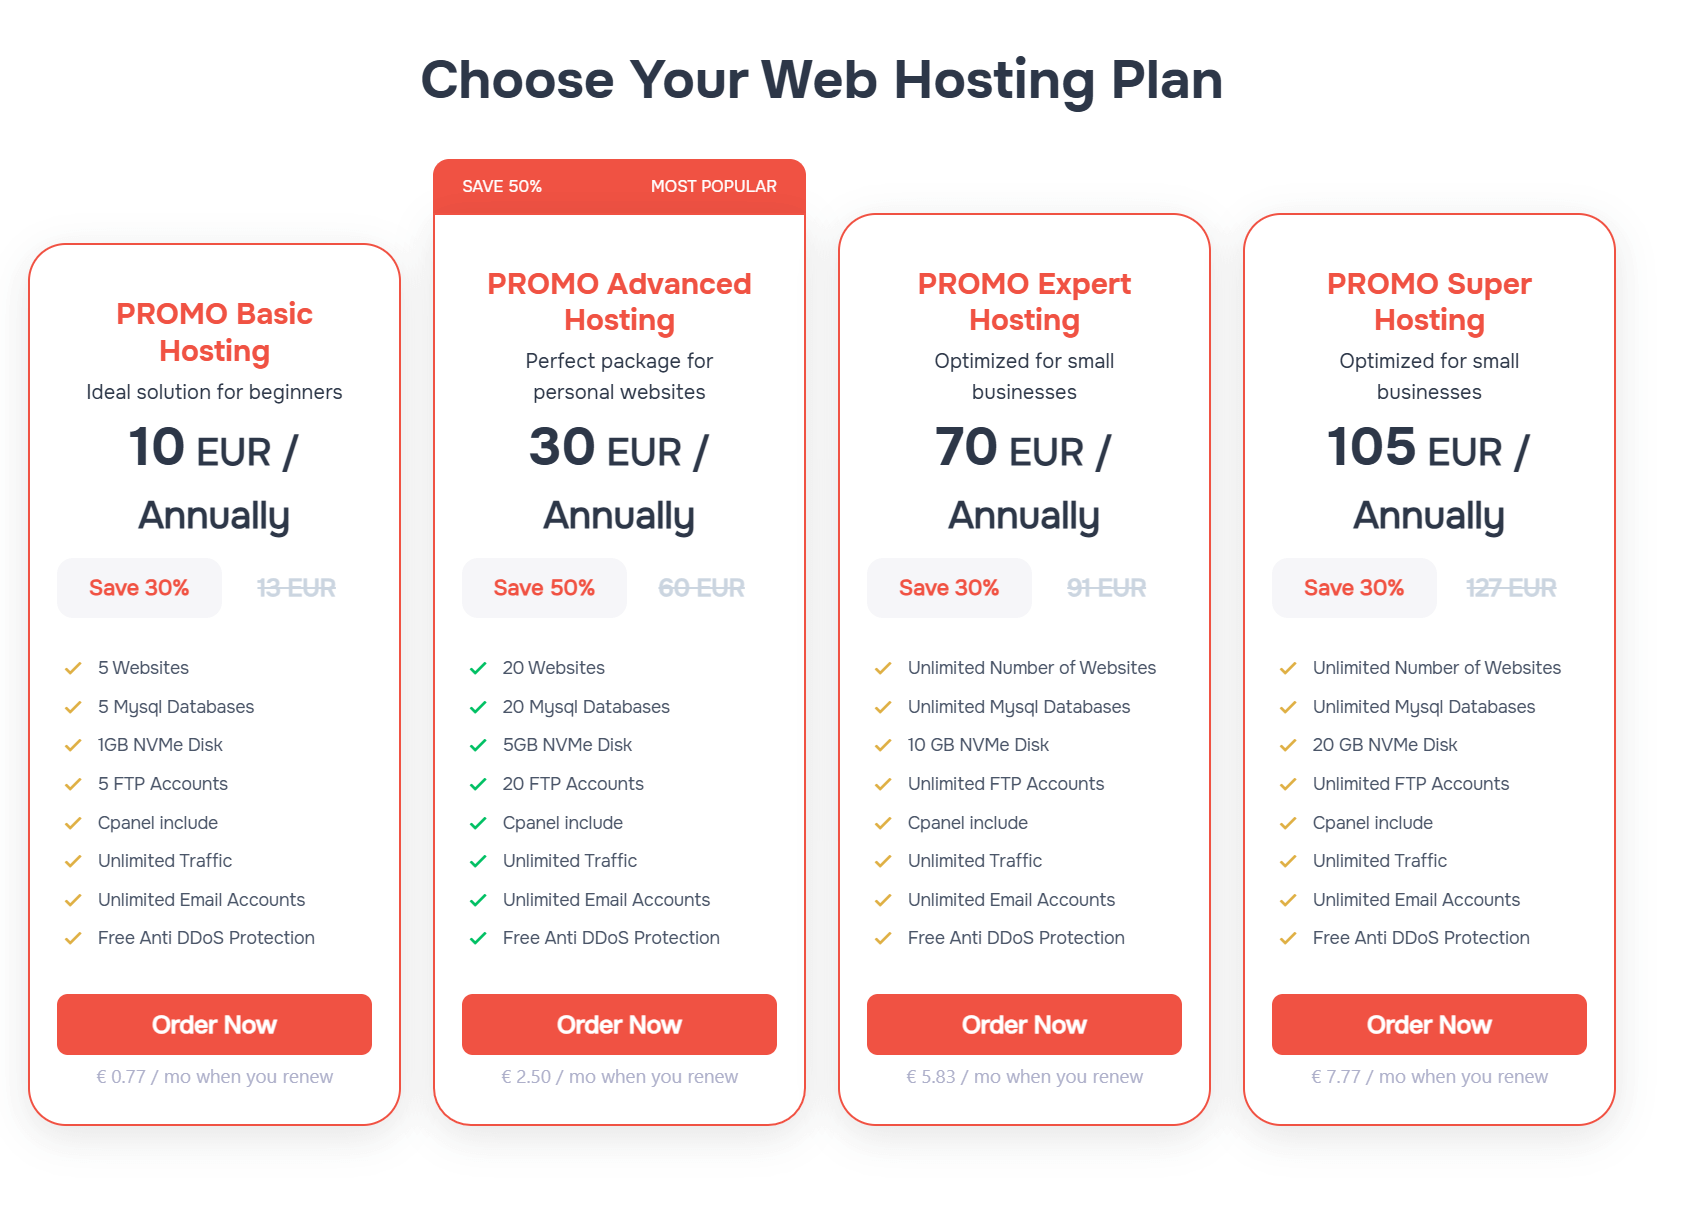
Click “Order Now” next to your desired plan.
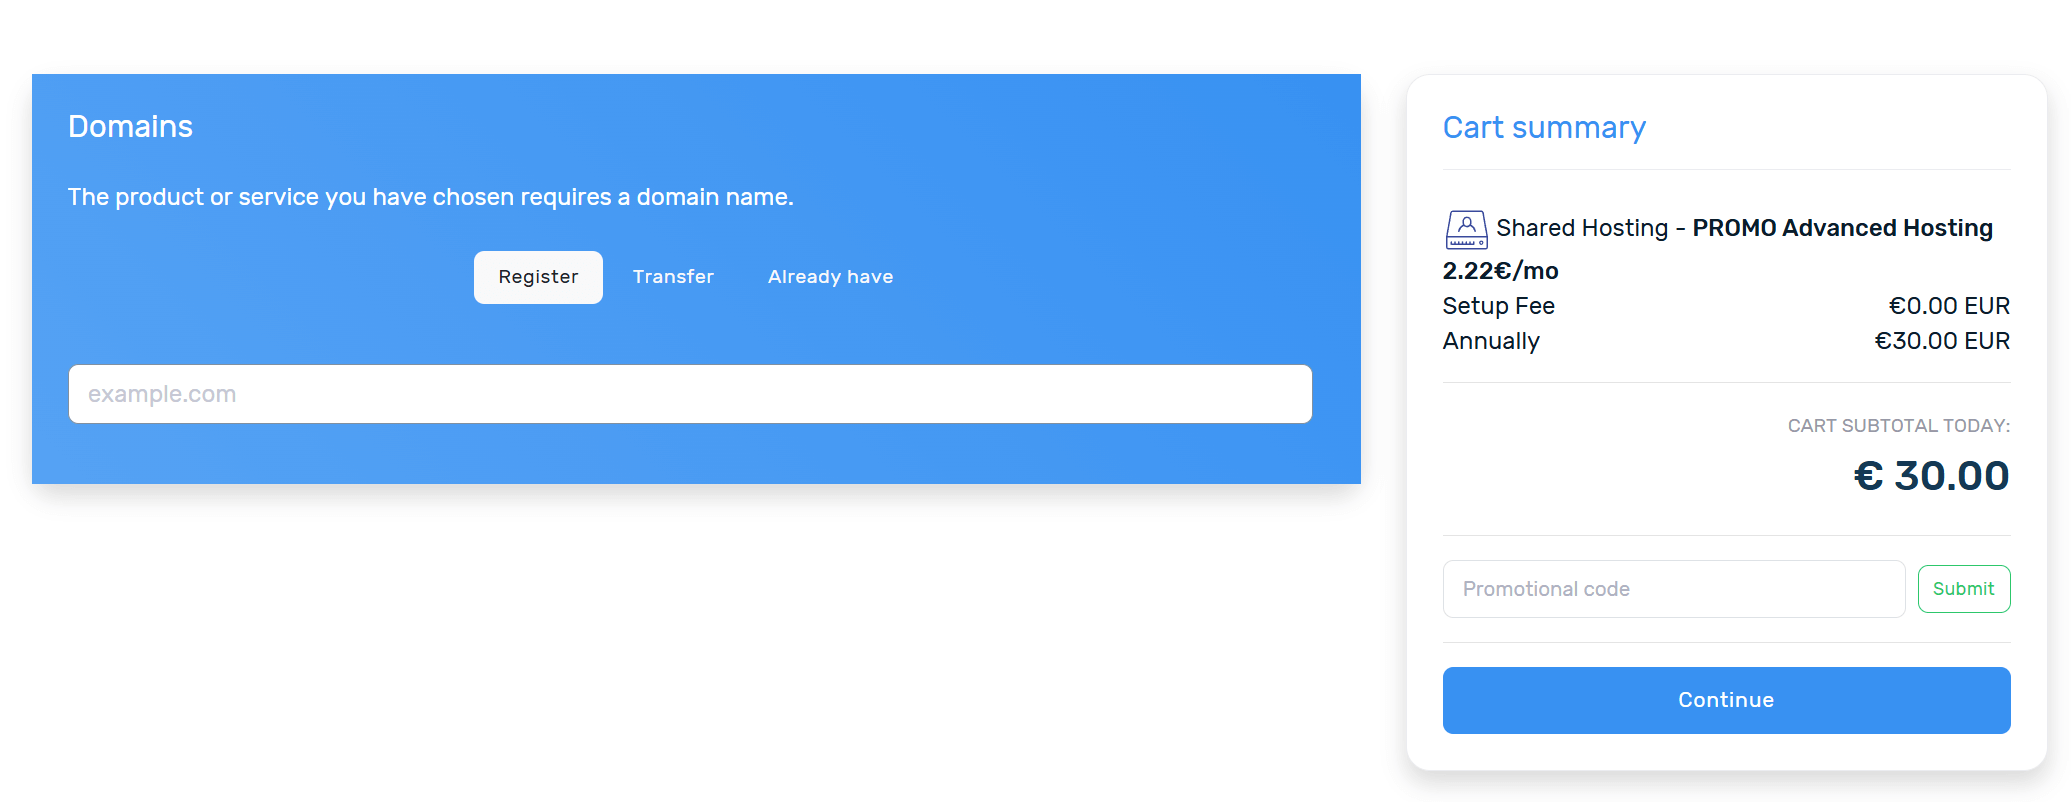
✅ Step 3: Choose Domain Options
You have 3 options:
- 🔍 Register a new domain via AlexHost
- 🔄 Transfer your existing domain
- 🌐 Use an existing domain (update nameservers manually)
✅ Step 4: Update NS records.
You need to mention, that shared hosting and LiteSpeed plans have not the same NS records. So please follow the details.
NS Entries for cPanel Hosting with Litespeed
- ns5.alexhost.md (176.123.0.83)
- ns6.alexhost.md (176.123.0.84)
NS Entries for cPanel Shared Hosting Service
- ns3.alexhost.md (176.123.0.55)
- ns4.alexhost.md (176.123.0.60)
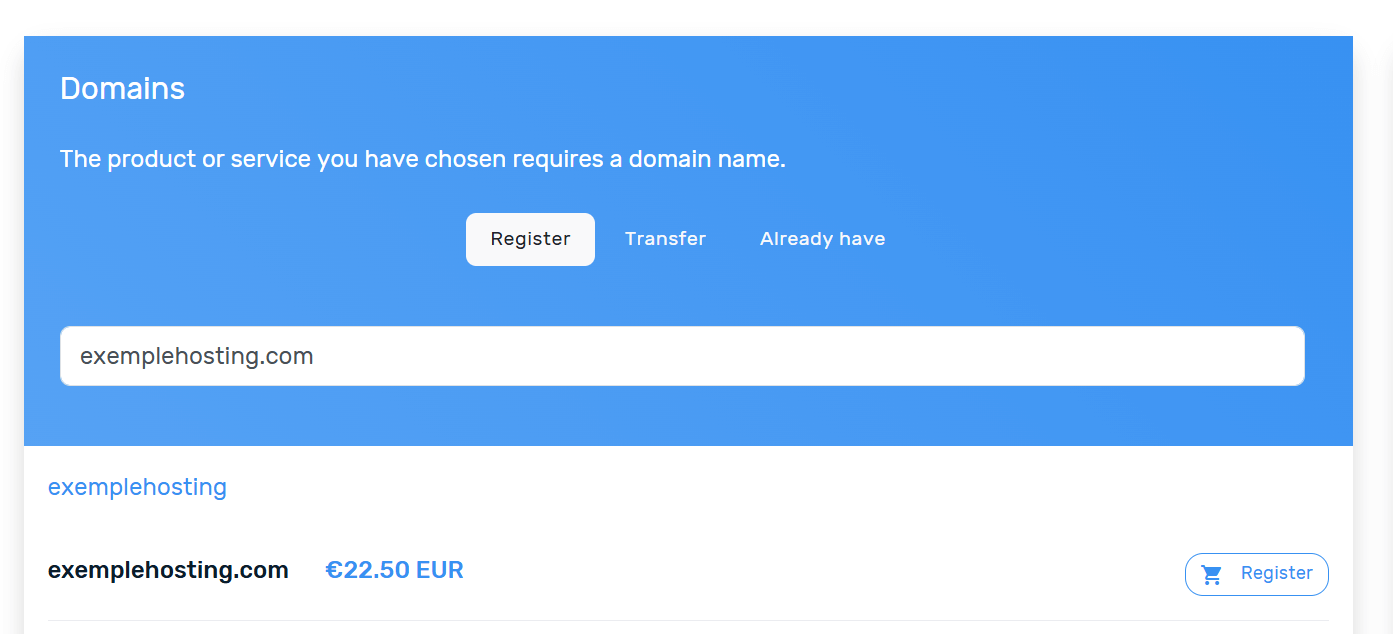
**If you choose to register a specific domain, you can type the requested domain in the search bar to see its availability.
✅ Step 4: Configure Hosting Package
For LiteSpeed Hosting you’ll be prompted to:
- Choose billing cycle (monthly, quarterly, yearly – litespeed; yearly – shared hosting)
- Select any add-ons (e.g. cPanel: Add Extra 1Gb Disk Space)
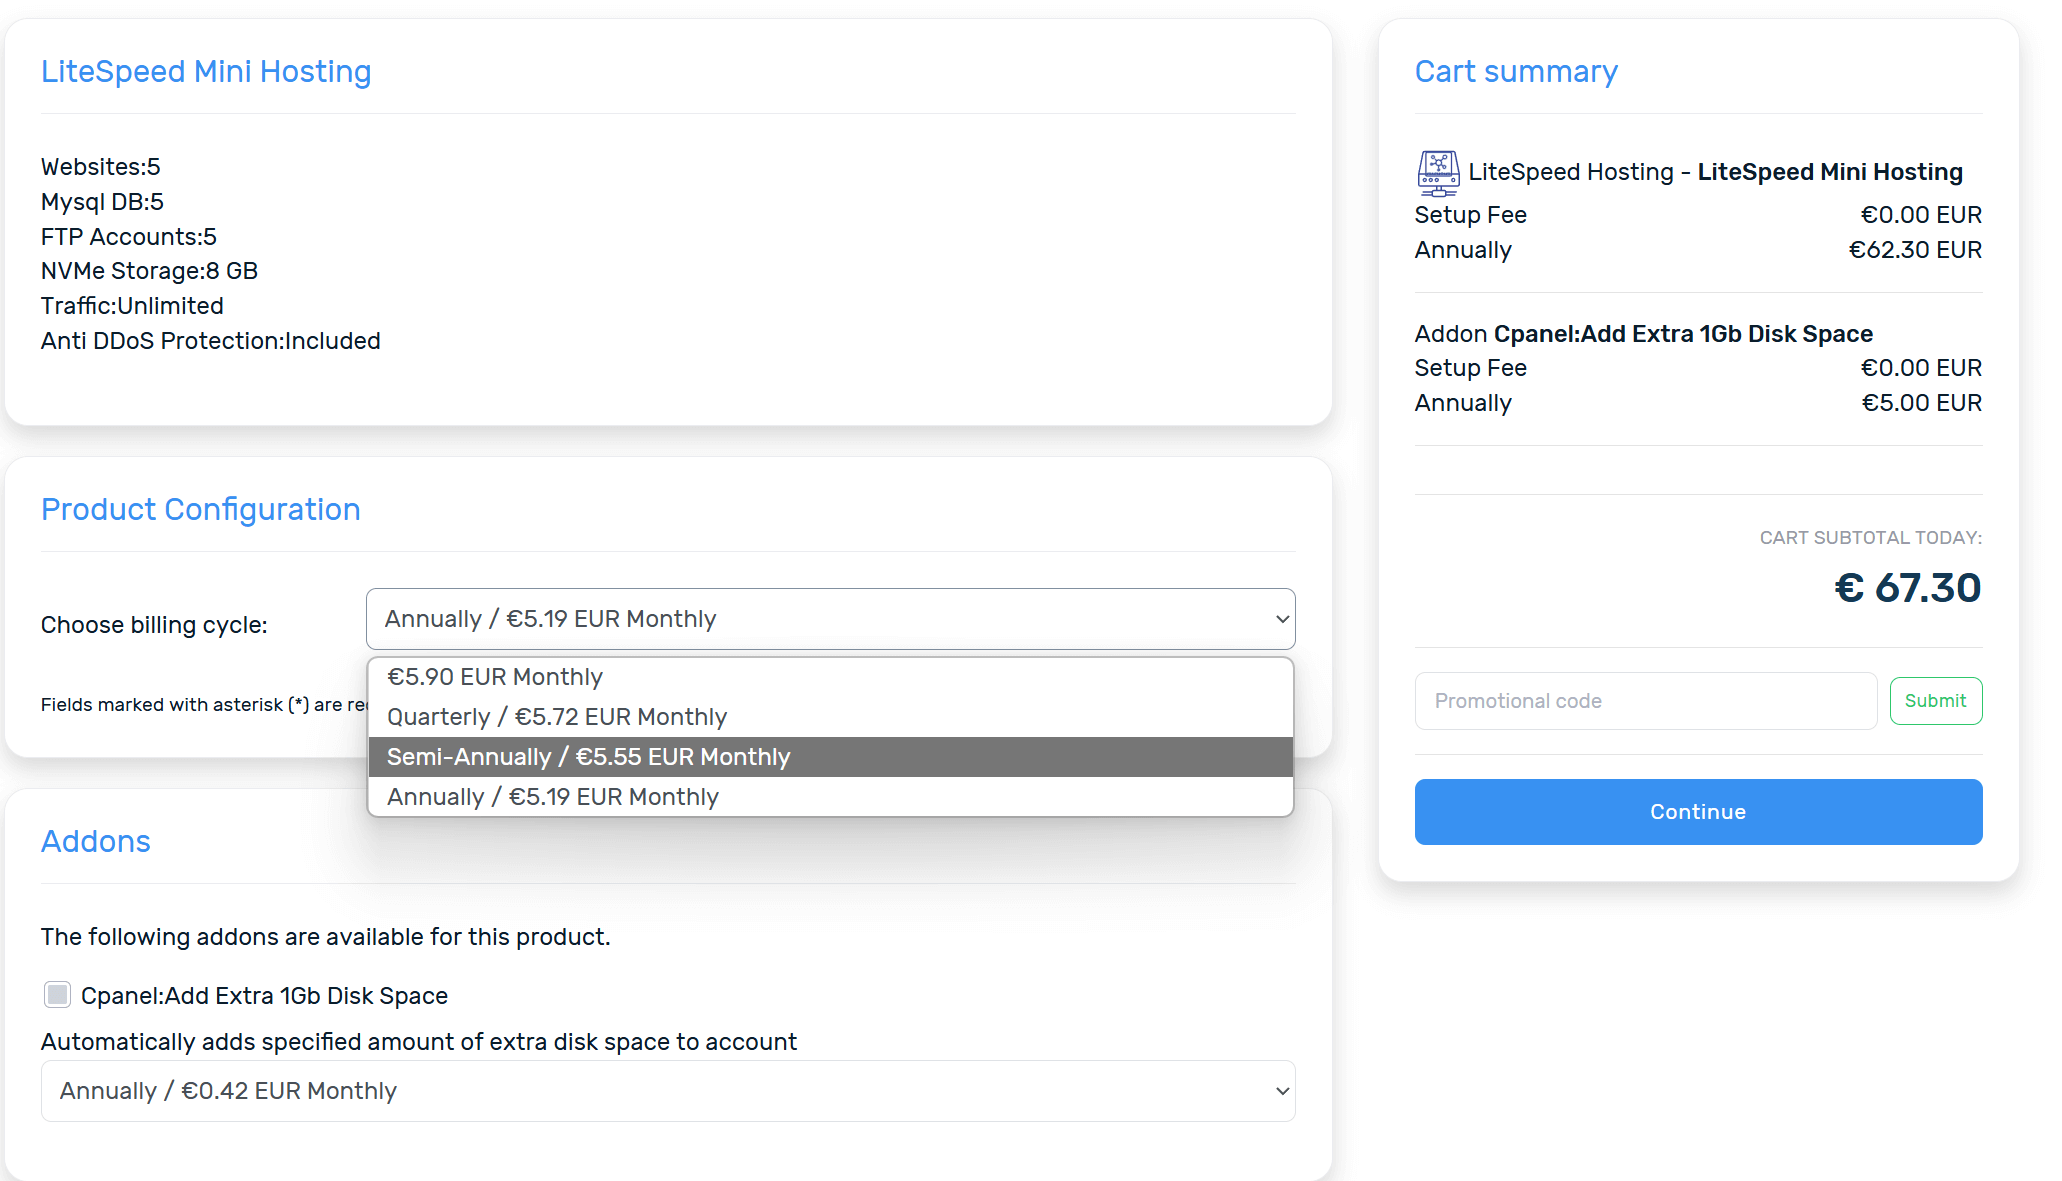
Click Continue when done.
✅ Step 5: Choose Payment Method
Alexhost supports the following payment methods:
What Payment Methods do we accept for Hosting Services? ⋆ ALexHost SRL
Once payment is confirmed, hosting is instantly activated.
⚙️ Post-Purchase Configuration
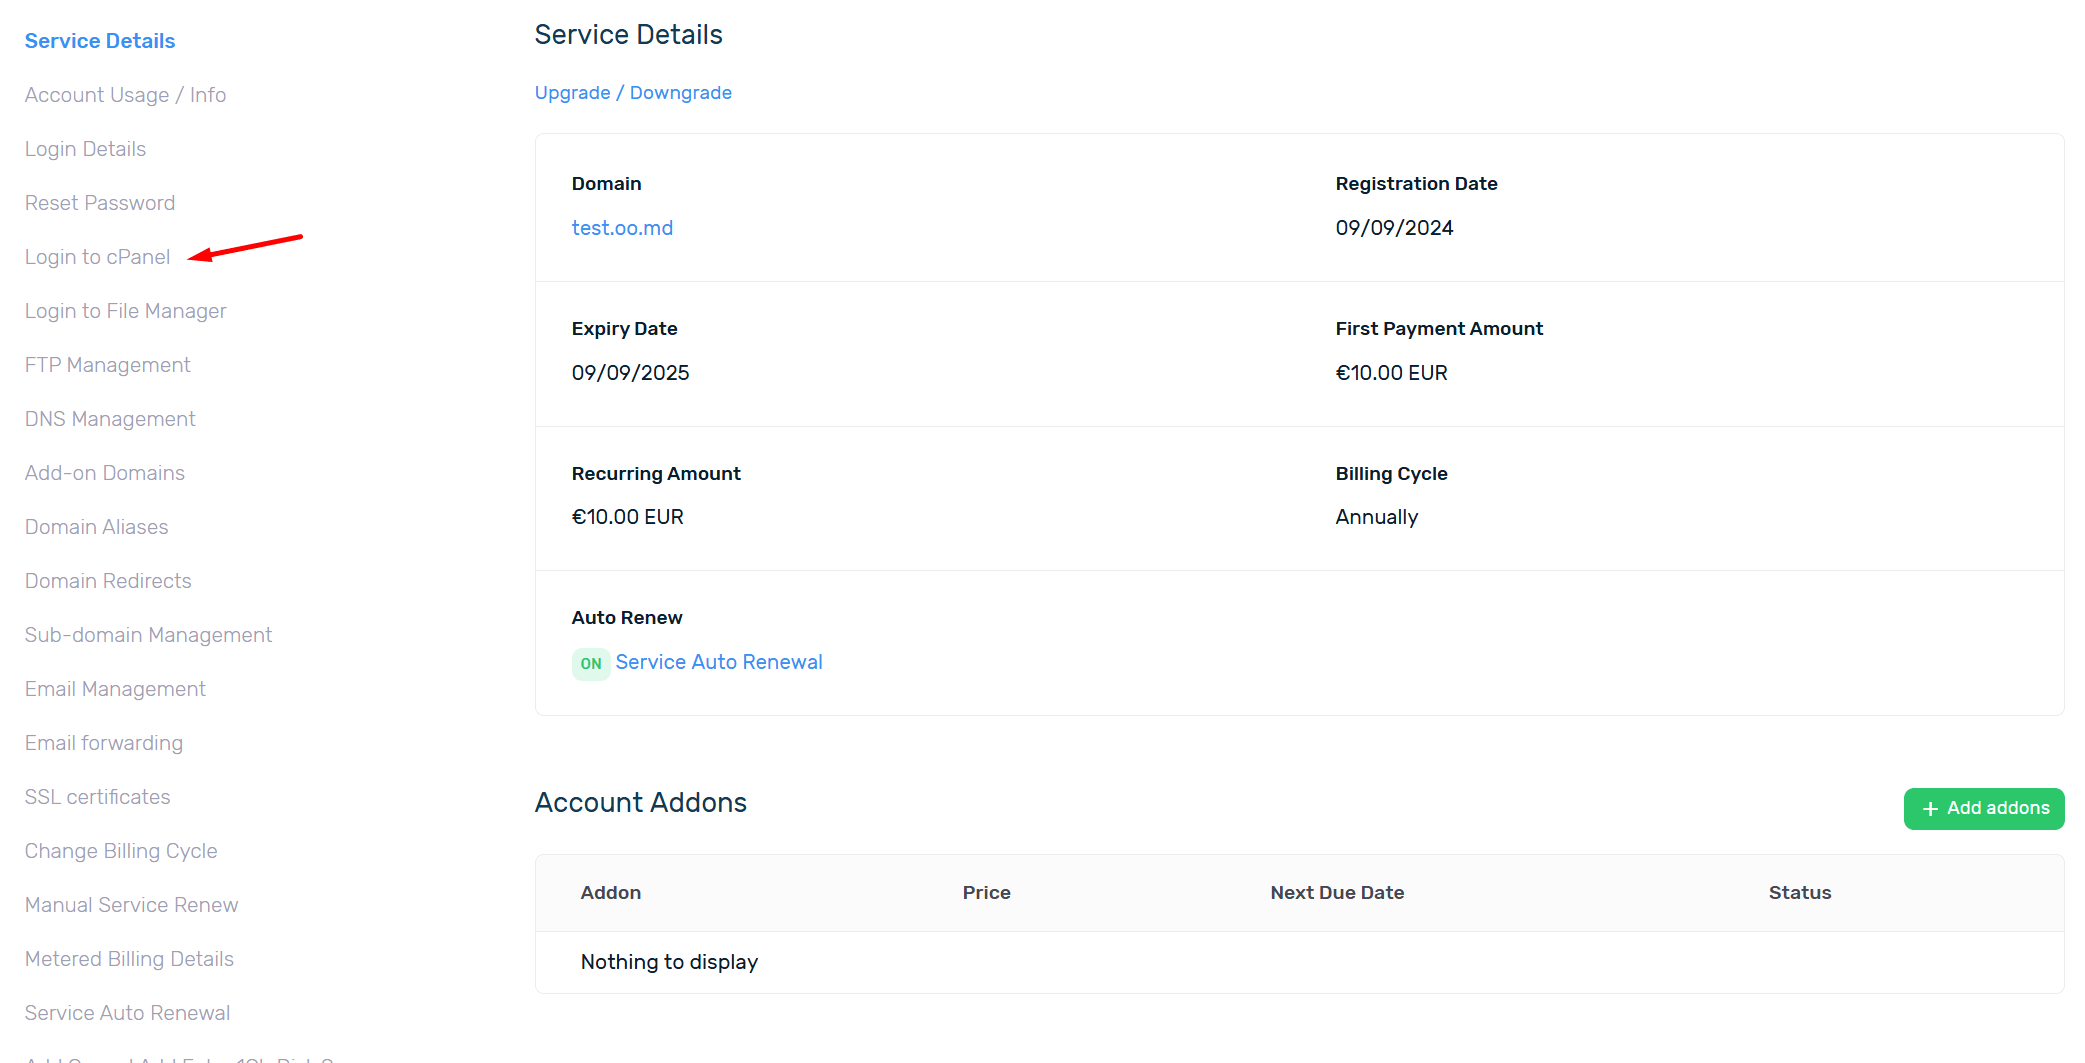
✅ 1. Access cPanel (or DirectAdmin)
You’ll receive credentials via email.

Login to your hosting panel , choose Services:

Service Detail
If you want to access cPanel, use the credentials you received by email.
How to upload a project using File Manager
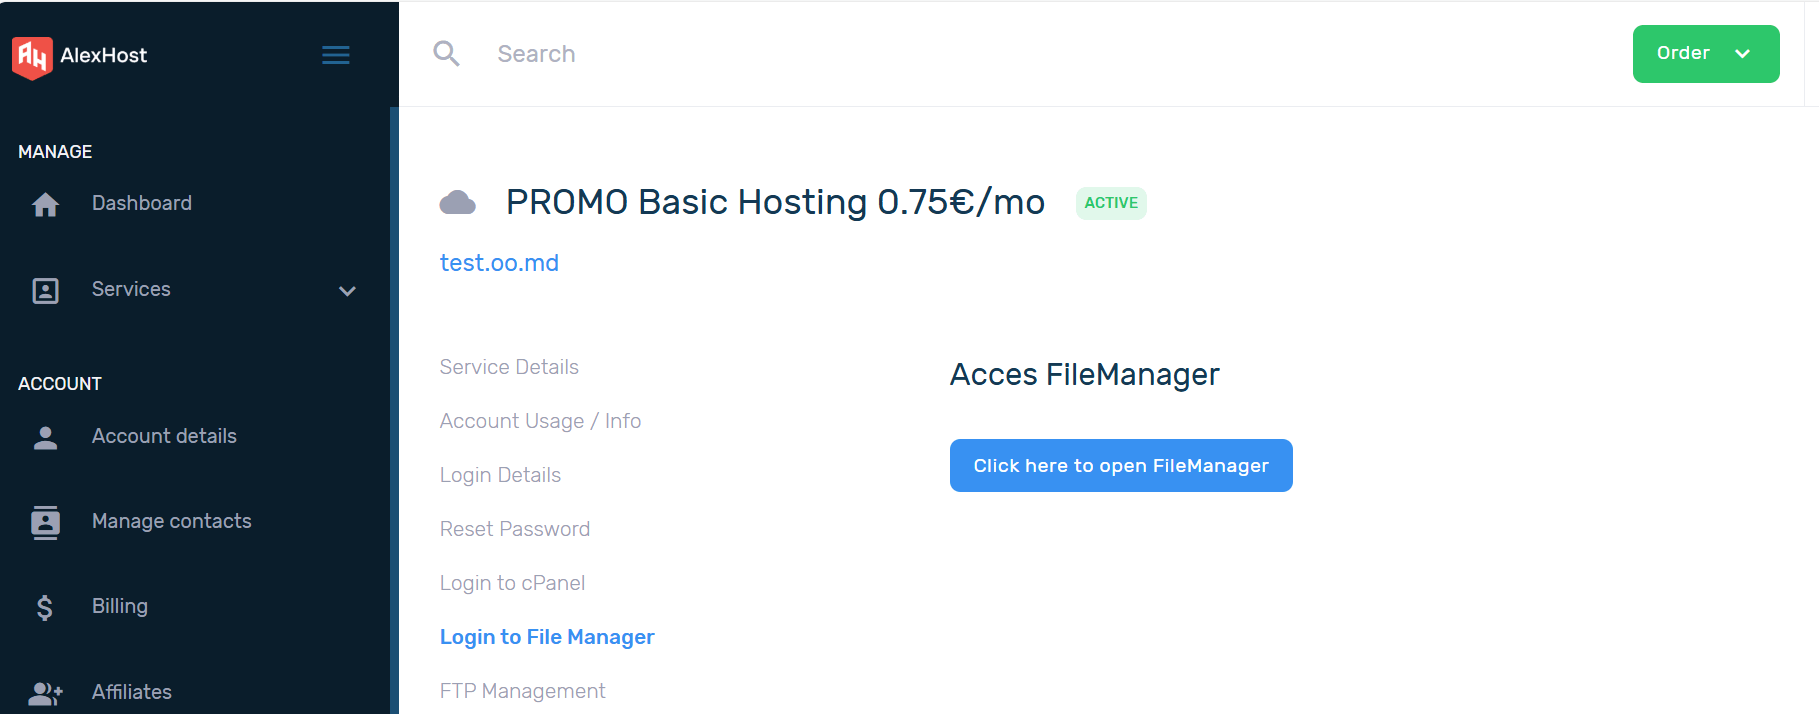
Click on button: Click here to open FileManager
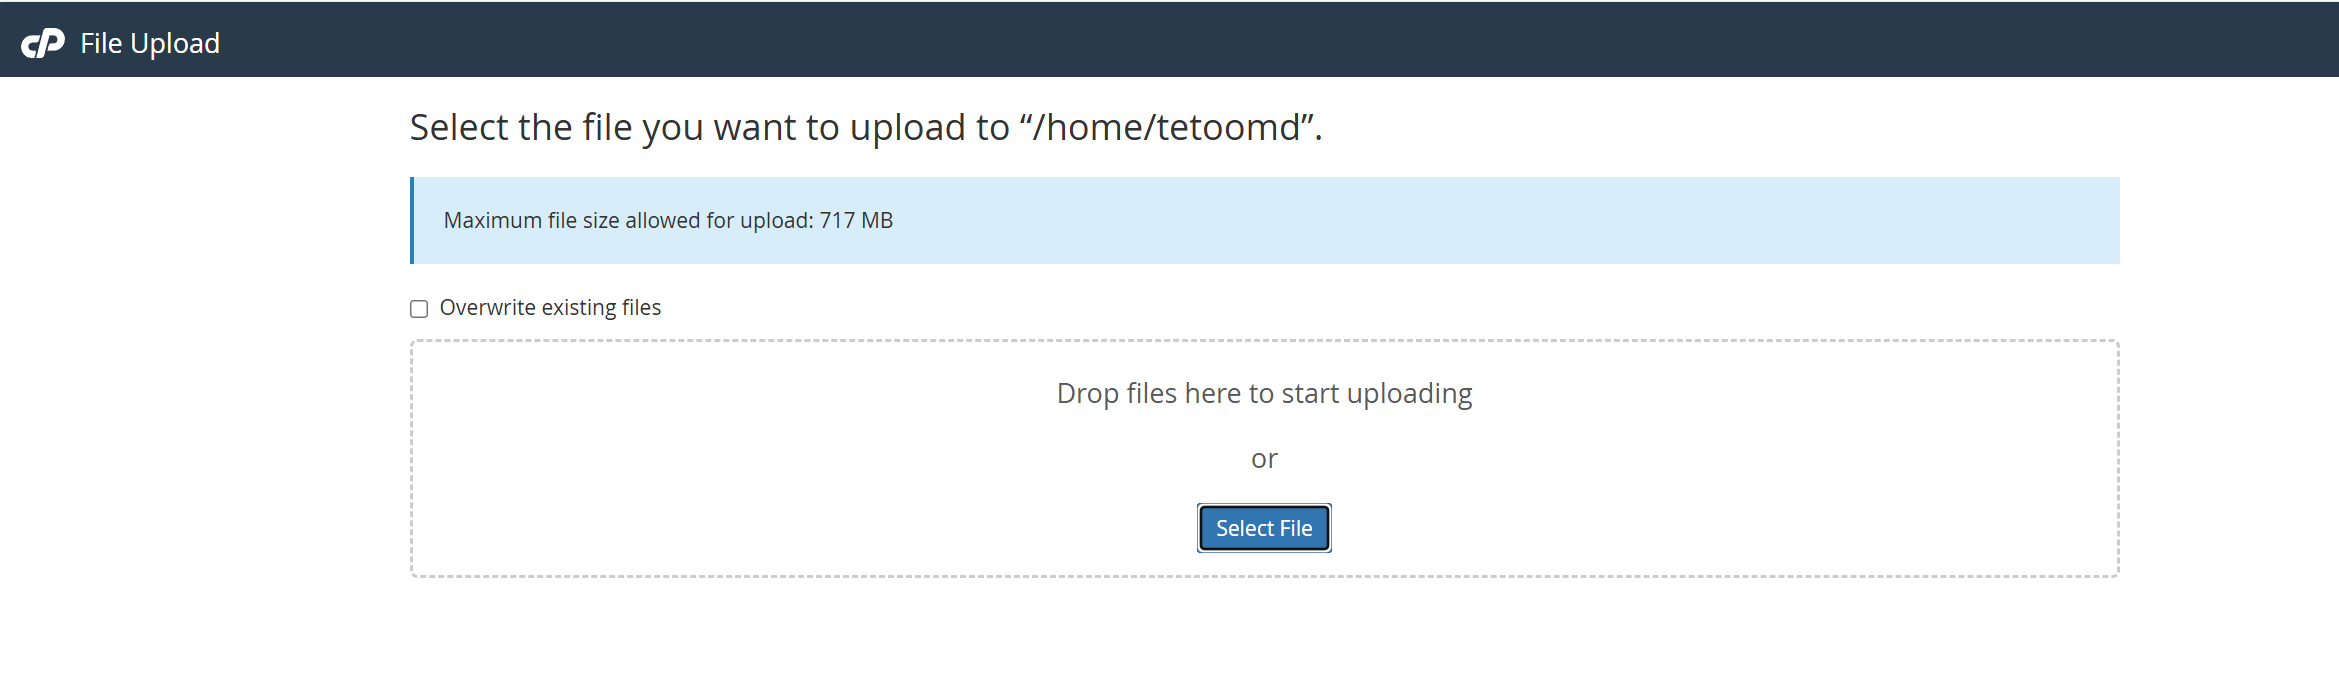
First you need to archive the map that you want to upload. First you need to archive the map you want to load. Then in the File Manager select Upload button.

Select the archived map on your local device.
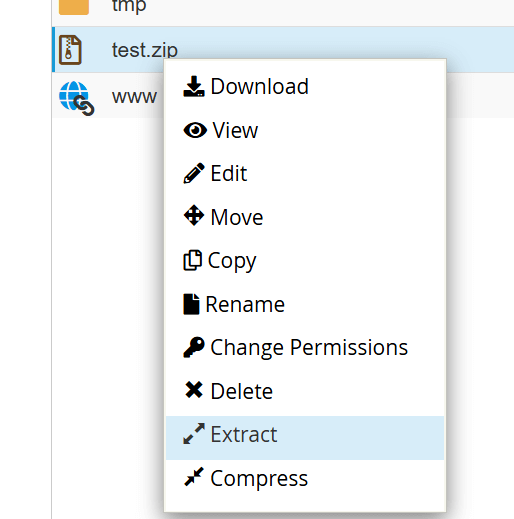
Access your directive, choose the required archive and on right click access Extract
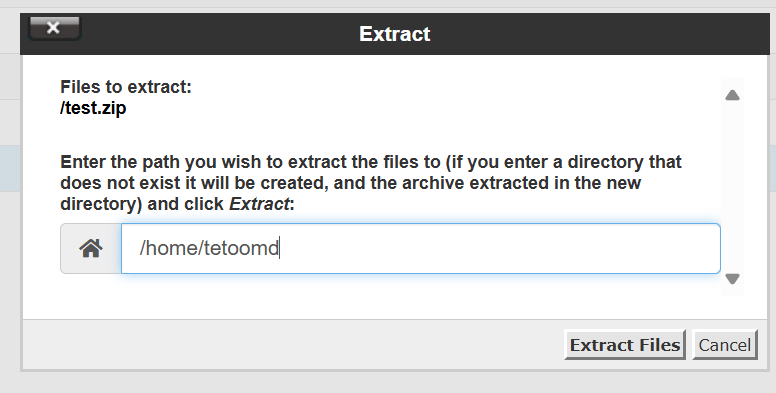
Enter the path you wish to extract the files to and click Extract:
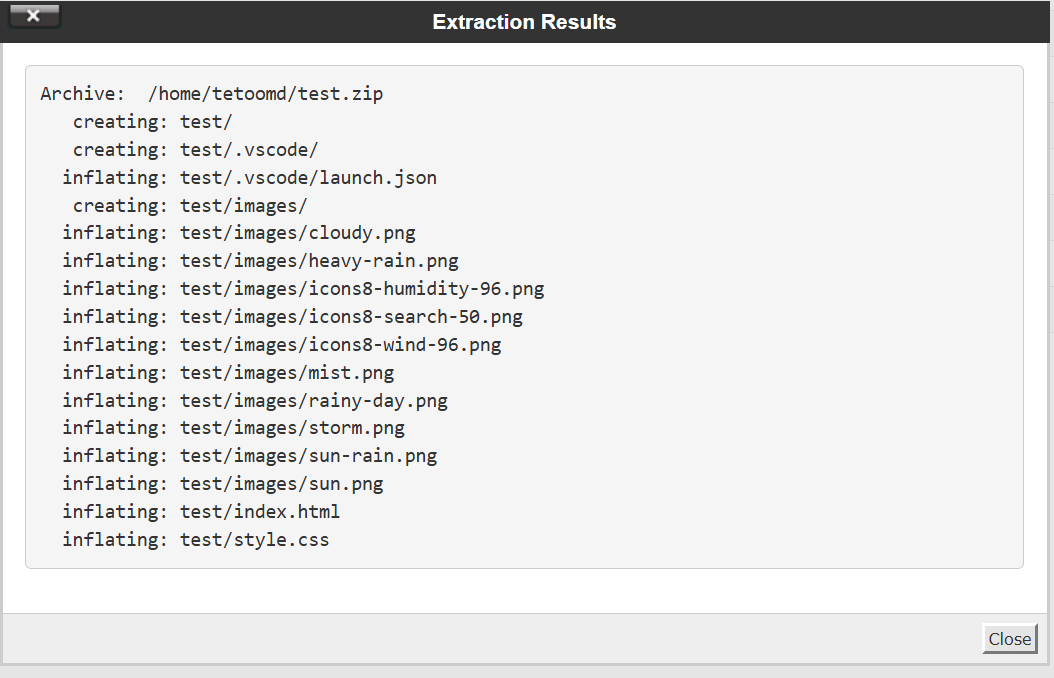
✅ After following all the steps, your project will be successfully uploaded in your panel.