English
 Русский
  Română
  Deutsch
  Français
  Türkçe
  Español
  Português
  Українська
  български
  Polski
  Indonesia
  中文 (中国)


 on All Hosting Services
How to Install WordPress on LiteSpeed & Shared Hosting with Softaculous
Installing WordPress on a shared hosting platform using LiteSpeed and cPanel can be a straightforward process, especially when utilizing Softaculous for automated installation. This guide provides a comprehensive walkthrough for setting up WordPress, focusing on the technical details and best practices to ensure a smooth and efficient deployment.
Quick Setup Overview
To install WordPress on your hosting account with LiteSpeed, you will use cPanel and Softaculous. This method is efficient and user-friendly, allowing even beginners to deploy a WordPress site quickly. Softaculous is an auto-installer that simplifies the process of installing web applications, offering over 450 scripts, including WordPress.
Step-by-Step Installation Guide

1. Accessing Your cPanel
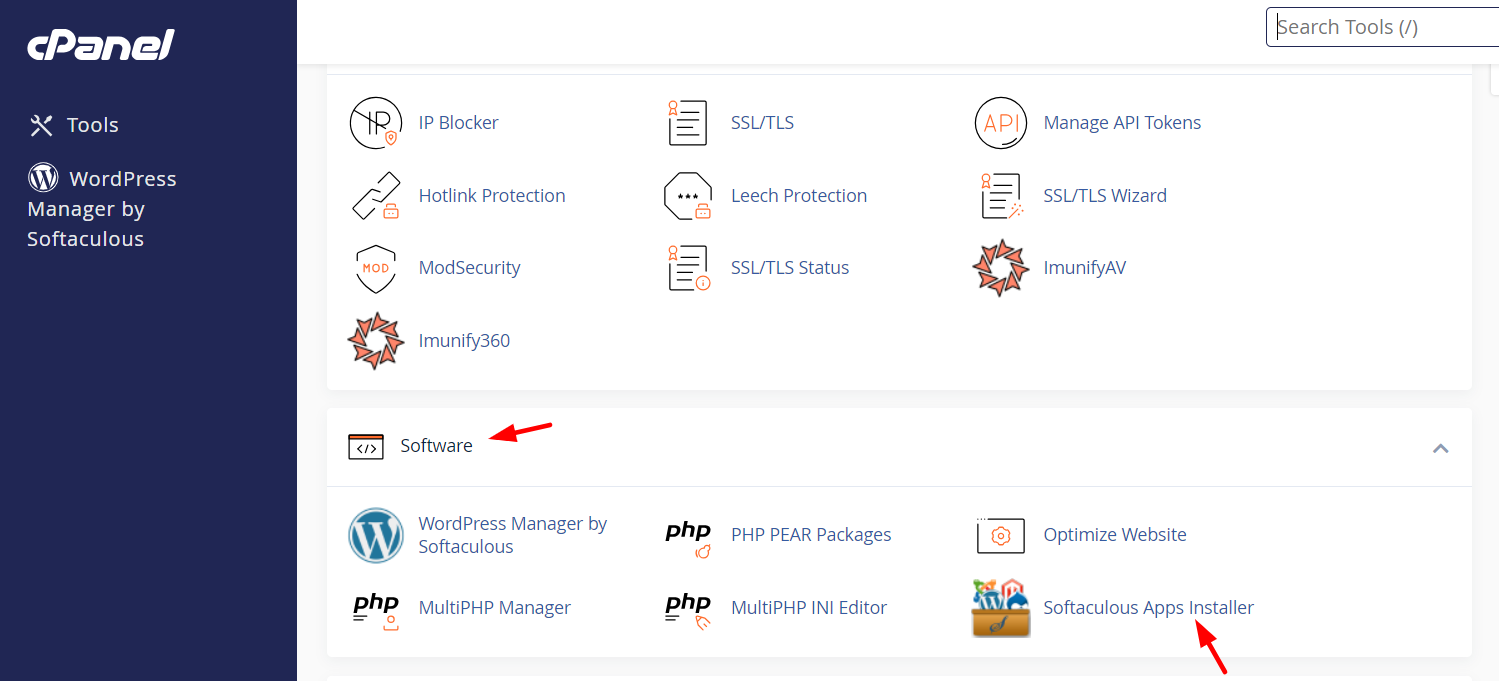
Begin by logging into your cPanel. Typically, you can do this by navigating to "yourdomain.com/cpanel" in your browser. Enter your credentials to gain access. Once logged in, locate the Software section and click on Softaculous Apps Installer.
2. Using Softaculous to Install WordPress
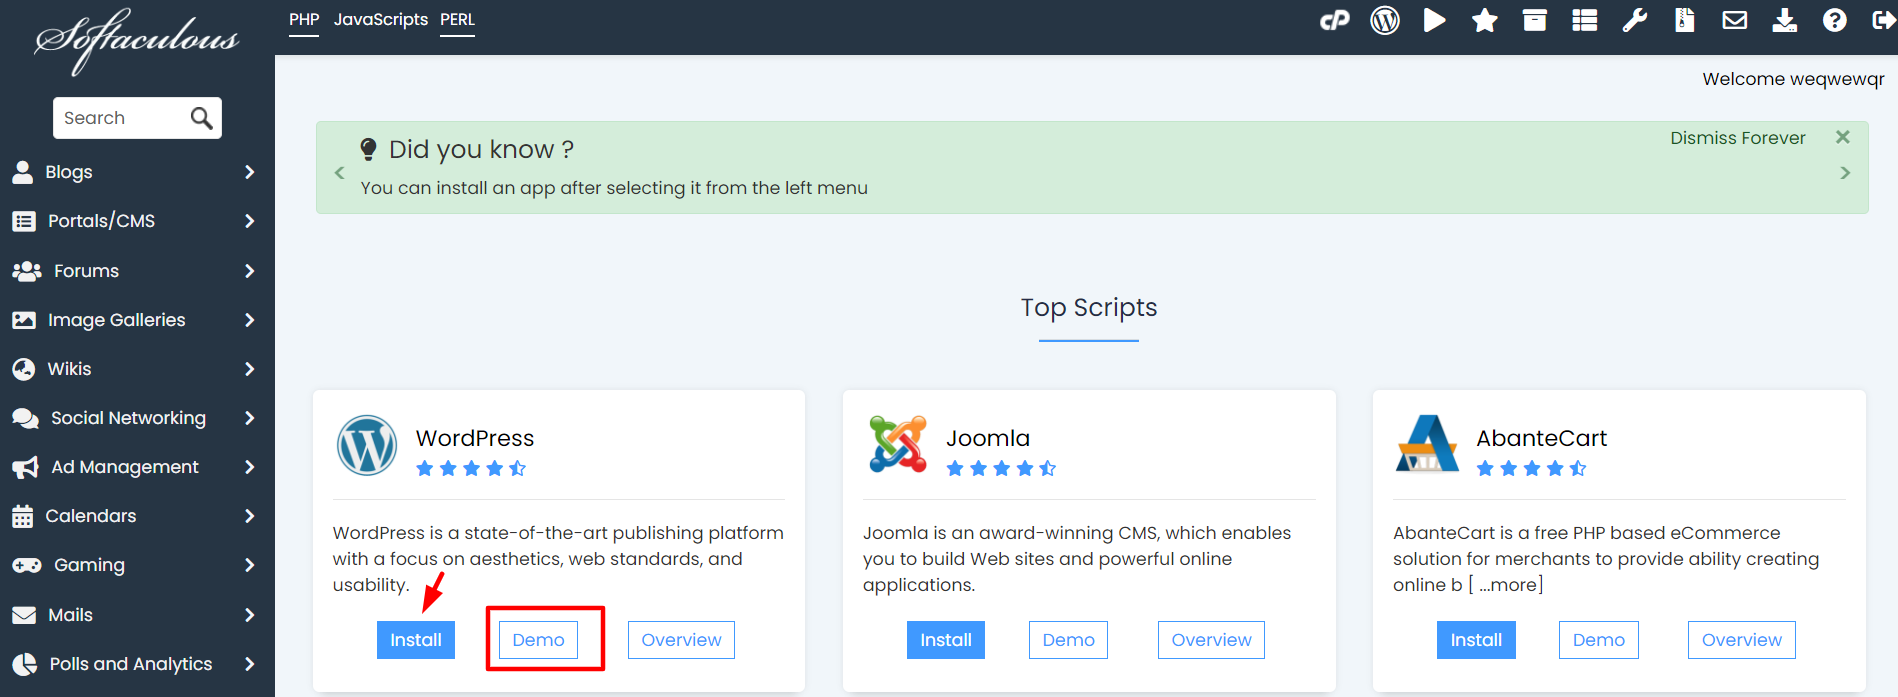
Inside Softaculous, you will find a variety of applications. WordPress is prominently listed due to its popularity as a content management system (CMS). Follow these steps:
- Select WordPress: Click on the WordPress icon.
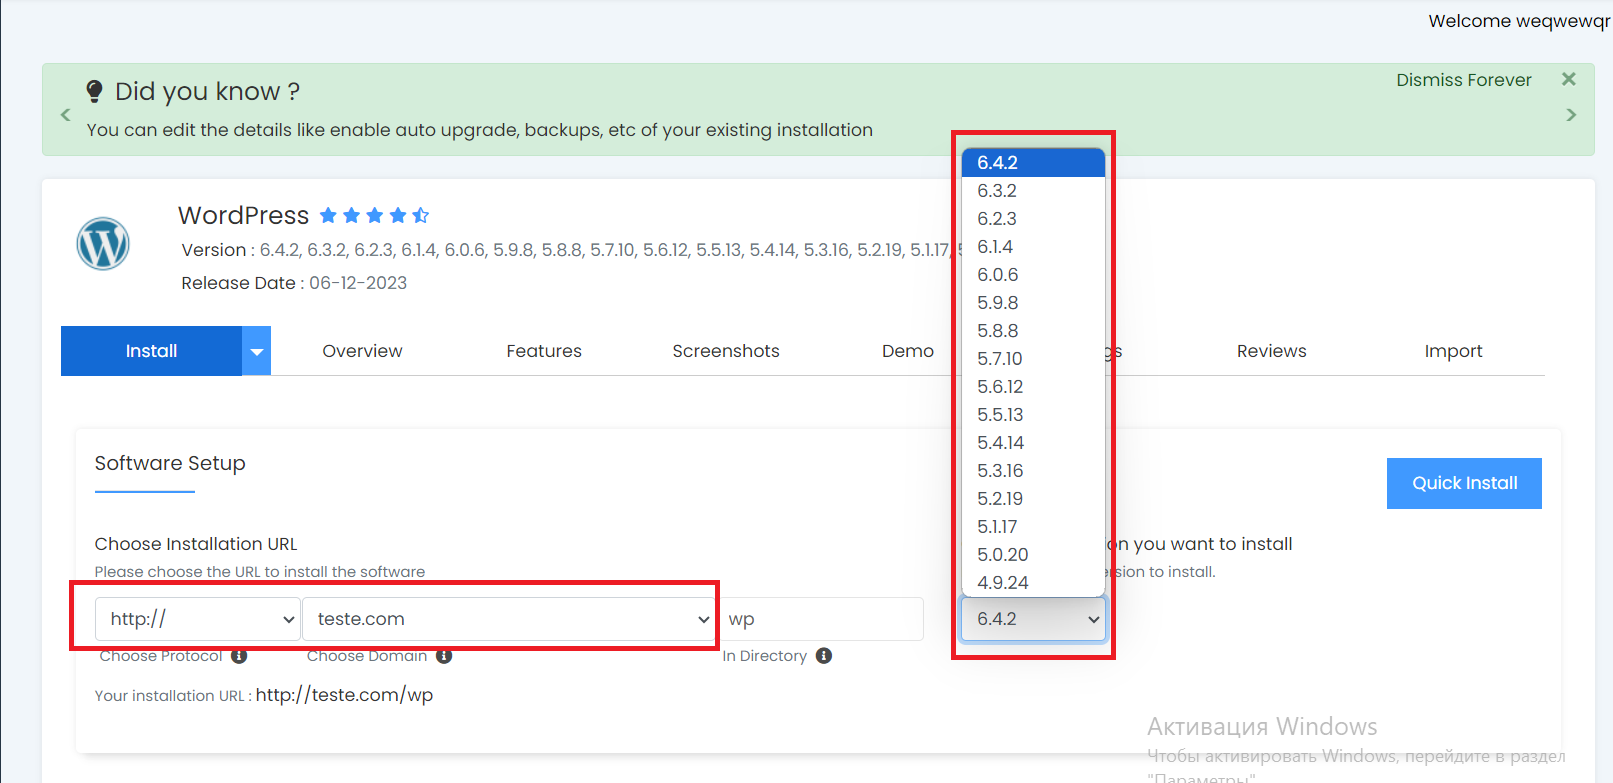
- Choose Installation URL: Select the domain where you want WordPress to be installed. If necessary, add a Domain Registration through AlexHost.
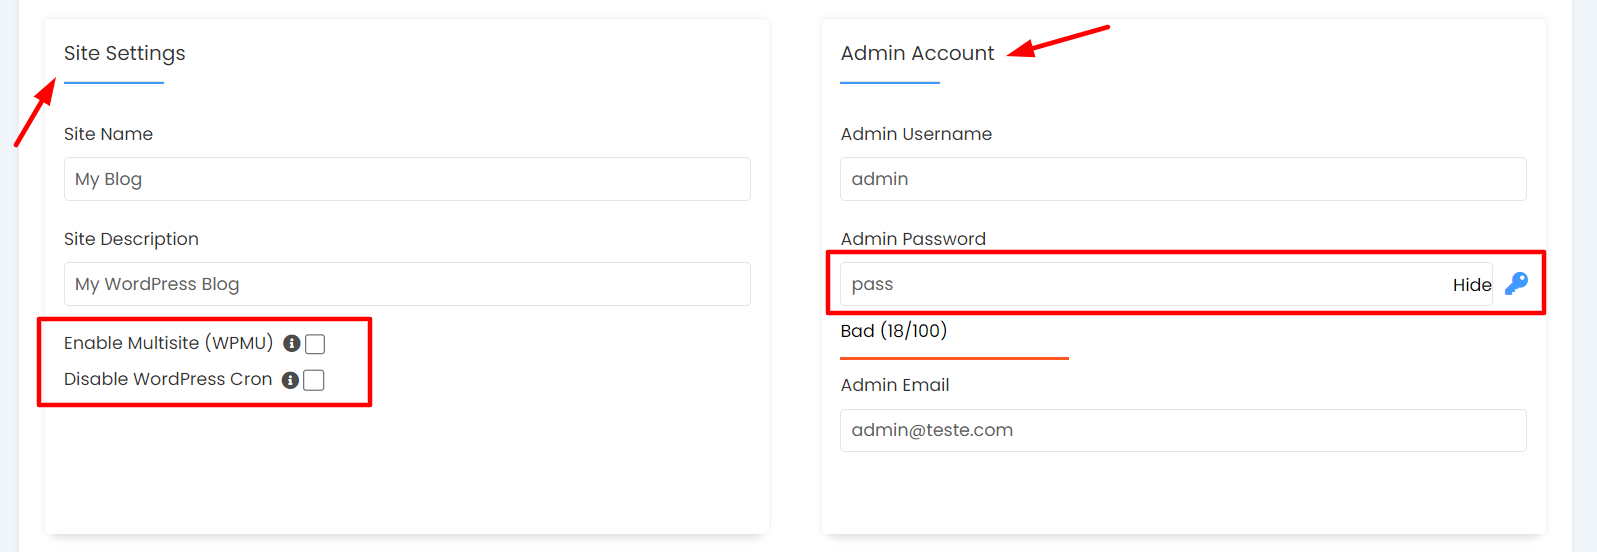
- Configure Site Settings: Enter your site name, description, and choose whether to enable Multisite. Multisite allows one WordPress installation to manage multiple sites, sharing themes and plugins.
- Set Up Admin Account: Create an admin username and password. Ensure these credentials are secure to protect your site.
- Advanced Options: Decide on auto-upgrade settings for WordPress, themes, and plugins. While automatic updates can be convenient, manual updates give you control and reduce the risk of incompatibility issues.
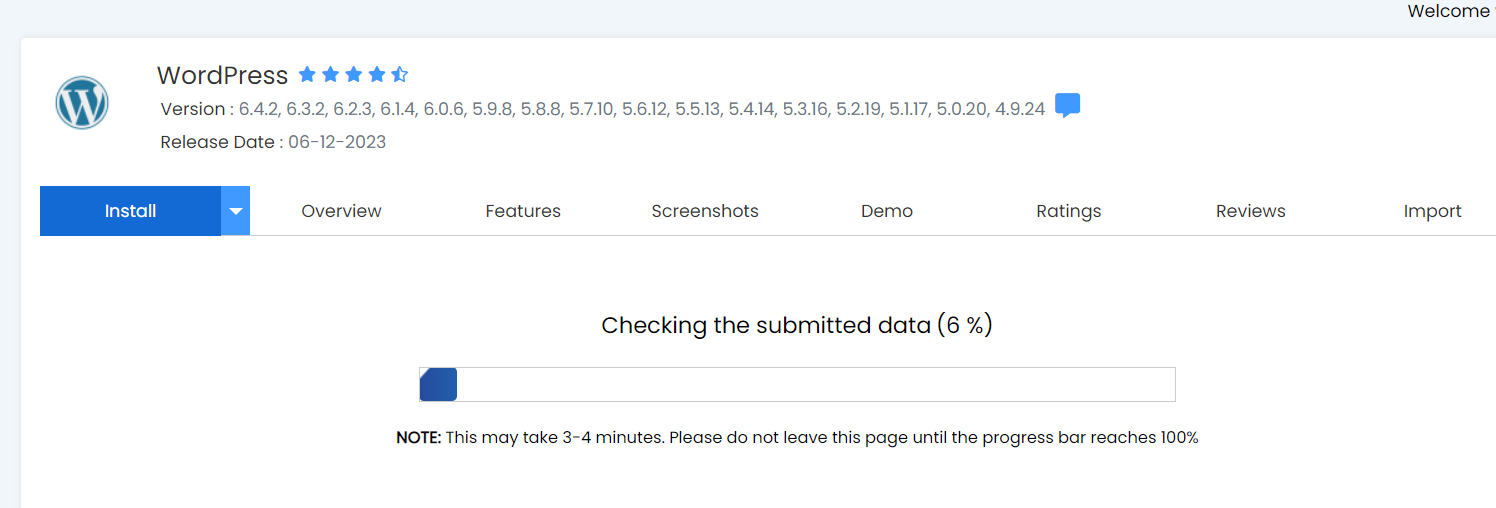
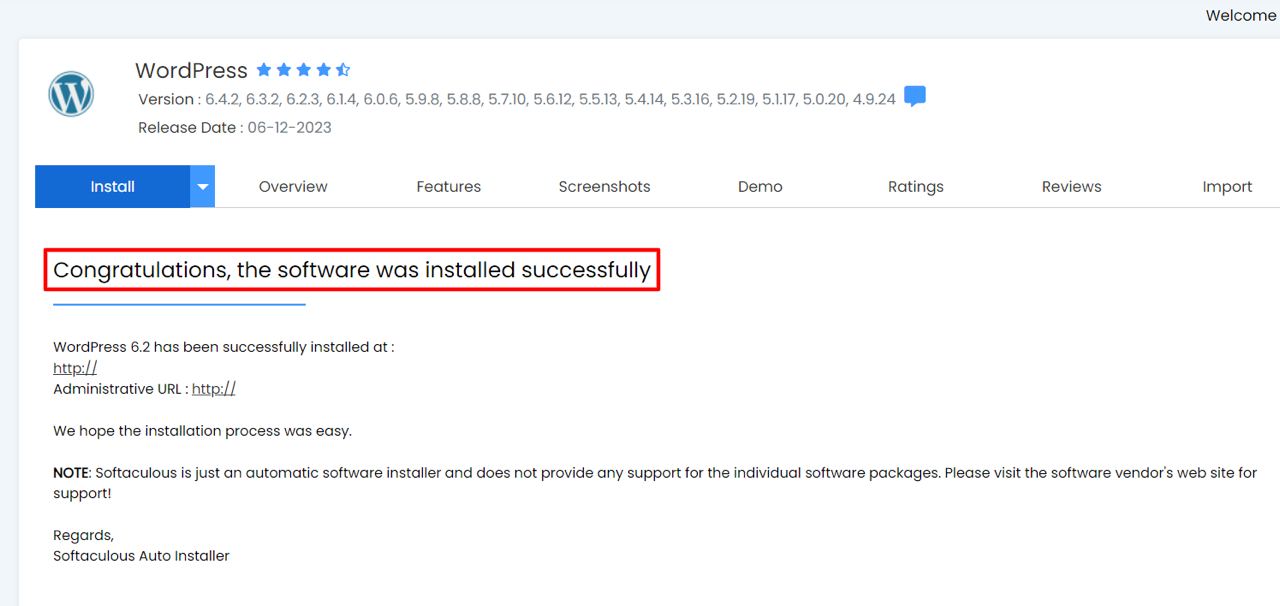
3. Finalizing the Installation
After configuring your settings, click Install. The installation process typically takes less than a minute. Upon completion, you will receive a confirmation message with links to your new WordPress site and admin dashboard.
Optimizing Your WordPress Installation
Leveraging LiteSpeed
LiteSpeed is a high-performance web server that enhances WordPress speed and efficiency. Its integration with VPS Hosting on AlexHost ensures rapid page loads and robust performance.
Security and Maintenance
- Enable HTTPS: Secure your site with an SSL Certificate.
- Regular Backups: Utilize backup plugins or your hosting service's backup options to safeguard data.
- DDoS Protection: Ensure your hosting provider offers DDoS protection to mitigate attacks.
Customizing Plugins and Themes
Manual configuration of plugins and themes allows for tailored functionality and design. This approach enhances security by avoiding unnecessary features that could introduce vulnerabilities.
Key Takeaways for a Successful WordPress Site
- Choose the Right Hosting: Consider Dedicated Servers for high-traffic sites or VPS with cPanel for more control.
- Regular Updates: Keep WordPress, themes, and plugins updated to the latest versions.
- Optimize Performance: Utilize caching plugins and a content delivery network (CDN) to improve load times.
- Secure Your Site: Implement strong passwords, enable two-factor authentication, and use security plugins like Wordfence.
FAQ
Q1: Can I install WordPress on shared hosting?
Yes, WordPress can be installed on shared hosting using cPanel and Softaculous, making it accessible for beginners.
Q2: What are the benefits of using LiteSpeed with WordPress?
LiteSpeed enhances website speed and efficiency, making it ideal for high-performance WordPress sites.
Q3: How do I secure my WordPress site?
Use an SSL certificate, keep software updated, and implement security plugins to protect against vulnerabilities.
Q4: Is it necessary to manually update WordPress plugins?
While automatic updates are available, manual updates offer better control and can prevent compatibility issues.
Q5: What is WordPress Multisite?
Multisite allows a single WordPress installation to manage multiple sites, sharing resources like themes and plugins.